The Ultimate 9-Day New Zealand North Island Itinerary
Get ready to dive into an action-packed nine-day whirlwind of a New Zealand North Island itinerary! From the rugged coastline of the Coromandel Peninsula to the bubbling geothermal wonders of Rotorua, we’ll be hiking, surfing, swimming, photographing, and road tripping our way through North Island’s most epic adventures. So grab your gear, slap on some sunscreen, and let's hit the road for an epic Kiwi adventure!
Hey, friends! This post may contain affiliate links to some of the things I love, and I'll receive a commission upon any purchases made through those links at no expense to you.

Mt. Ngurahoe, Tongariro National Park
Table of Contents
Who is this itinerary for?
If you’re someone who enjoys the outdoors and wants to see a solid sampling of some of North Island’s most epic landscapes, adventures, and experiences on a longer trip (6 days minimum), sometimes with a hike or boat involved, then this North Island road trip itinerary is for you! The longest hike is 13 miles.

Te Pa Tu
Remember, You’re on Maori land!
The first known human to set foot on New Zealand was a man named Kupe who sailed across the Pacific using currents and stars to guide his way nearly 2000 years ago, according to Māori oral history. Then came the colonizers. Captain Cook arrived in 1789, shooting Māori people on the spot. In 1840, the British tricked the Māori people into signing the treaty of Waitangi. The principles were unclear and many Māori chiefs signed being uncertain, others refused, and many didn’t have the chance to sign. Once signed by a few, the British claimed the agreement applied even to the chiefs who didn’t sign it. By signing, Māori cede the sovereignty of New Zealand to Britain; Māori give the Crown an exclusive right to buy lands they wish to sell, and, in return, are guaranteed full rights of ownership of their lands, forests, fisheries and other possessions; and Māori are given the rights and privileges of British subjects.
The New Zealand Wars broke out between 1845 and 1872 over land disputes and eventually a misunderstanding that Māori were joining forces and refusing to acknowledge the Crown. 18,000 British army troops supported by artillery, cavalry and local militia, battled about 4,000 Māori warriors. Talk about an unfair advantage. The Māori held their ground for a while, but no one could win a battle that type of power imbalance. 1,800 Māori lives and 800 European lives were lost.

Tongariro Alpine Crossing
Protests began in the 1960’s in an effort to regain the land and culture europeans stripped from them. In 1975 Dame Whina Cooper led Māori from all over the country on a walk from Te Hāpua to the nation’s capital, Wellington, which is the entirety of the North Island, over ongoing land alienation.
The Waitangi Tribunal was established in 1975, designed to address perceived breaches of the Treaty of Waitangi, which provided a forum for the expression of Māori protest and anger over the impact of Euruopean colonization. It greatly helped return to some assets to tribes.
The Māori people have fought long and hard for influence in government, the right to their stolen land, and the resources to keep their culture alive. There’s still a long way to go, and the community still suffers from the affects of oppression.

Wilkies Pools

New Zealand Map: North Island
Know Before You Go
Entry Requirements:
USA citizens need to fill out an NZeTA application a few days prior to leaving. This allows you to spend up to 90 days in New Zealand, and the airport staff will need to enter the NZeTA number and expiration date into their system at check-in.
Learn from my mistakes and do NOT do this last minute. My partner’s was approved in a matter of minutes, but mine took 3 days. They say it can take longer too. Save yourself an anxiety attack and do it ahead of time. Go through the app for a better user experience (and a potentially faster approval period).
They also require you to have a return flight. They didn’t ask us for proof, but it could happen.
Wall Outlets:
New Zealand uses a Type 1 plug (same as Australia and other Pacific Islands). Snag one before you go!

Tongariro Alpine Crossing
Currency/Credit Cards:
The currency is the New Zealand Dollar, but most established places accept credit cards, also referred to as EFTPOS. There are surcharges for credit card transactions. Pro tip: Insert your chip into the machine to yield a smaller surcharge than tapping it. Don’t ask me why!
SIM Cards:
I highly recommend purchasing a SIM while you’re traveling–there are a ton of decent options (both e-SIM and SIM cards) depending on the length of your stay. The most popular companies are:
Since I was traveling for 2.5 months, I went with Spark’s 90-day plan. I paid a one-time fee for unlimited data, calling, and texting with a New Zealand phone number.
Pro tip: Set up a WhatsApp account with your current phone number before leaving so you can still text friends and relatives and login to your online accounts when you need to be texted a two-factor authentication code.

35mm Film. Mt. Taranaki.
Film Photographer?
Bring all your film with you, especially if you’re a Portra lover like me! Film is very expensive in New Zealand and pretty hard to find. Ultramax is pretty common, but Portra is nearly impossible to find. Photo Warehouse and Splendid Photo do have a small selection of film (mostly Ultramax), but Portra 400 was nowhere to be found. because they partner with a US company to get it, but man, is it expensive! Avoid the headache and hole in your pocket and bring your own (but don’t forget to hand-check it!).
I also recommend waiting until you’re back home to develop your film with your trusted developer. Don’t make my mistake.
Car Rentals:
You’ll need some sort of your own transportation to make the most of your trip. Trust me. Having that flexibility (especially if you’re into photography and want to catch a few sunrises or sunsets), a car or van is key. And many of the most beautiful views and stops aren’t a destination, but rather just roadside bangers.
We booked with Discount Car Rentals Queenstown a month ahead of time and found that was a good time to find deals! EZ Rentals, and Go Rentals are two other great New Zealand car rental companies. You can search for the best deals on TripAdvisor here! Prices skyrocketed anywhere once we were a month out from our trip, so I’d recommend reserving as soon as possible.
Van Rentals:
Van-lifeing it is a BIG thing in New Zealand and is easily the best way to see as much of this beautiful country as possible. New Zealand is extremely camper friendly, and even has a bunch of advertised free camping sites as long as your vehicle is self-contained, which is a certification used to show that a campervan can contain water waste for up to three days. They just want to make sure you’re not hurting the environment is all!
I went with Big Little Campers, but here are a few more I saw throughout my New Zealand adventure:
Helpful apps to find free and paid camping:

Tongariro National Park
What to Pack for New Zealand: Summer-Fall
Raincoat. I wore my REI XeroDry raincoat.
Puffy or warm mid-layer. I love my Stio puffy! While it’s warm in the sun, the shade feels about 10 degrees colder. I wore my puffy almost every day at some point!
Beanie or a warm hat. Especially if you’re hiking in the dark.
Baseball cap. The sun is no joke. Protect yourself. Which brings me to my next item.
Leggings. Glyders are my favorite!
Base layer long-sleeve shirt: I wore The North Face Summit Series Pro on the chillier days!
Jeans
Hiking sports bras/tops: My Girlfriend Collective white sports bra is my favorite thing to hike in!
Everyday tanks/tees for in towns.
Everyday long-sleeves for in towns.
Quality socks. Your boots are sometimes only as good as your socks. I’d recommend merino wool hiking socks.
Quality hiking boots or shoes. Preferably ones you’ve broken in already. Do your soles a favor and bring along good boots! I wore my Danners, per usual.
Blundstones. I found myself wearing these on chillier/rainy days when I didn’t want to wear my hiking boots.
Slip-on shoes. On warmer days (when I wasn’t hiking) I loved freeing the toes with my Birkenstocks.
Water bladder. I love the easy of drinking through a hose so I don’t have to stop on the trail to pull out a water botle. I love my Osprey!
Camera. I brought along my Sony a7r III, Sony 24-70 GM II lens, and my Tamron 70-300mm lens, as well asmy Canon 38m II point-and-shoot film camera and my Canon AE-1 film camera with a 24mm lens.
Headlamp. If you’re doing any sunrise or sunset sends, this’ll come in handy! I bring along my Black Diamond Spot 400.
Sunscreen. Self explanatory. I love my Kinfield!
Lightweight microfiber towel. If you’re van-lifeing it or staying at hostels, or even just going to be spending some time by the water, it’s nice to have a lightweight, packable, quick-drying towel. I love my Nomadix Ultralight towel!
Travel Backpack. I like to pack carry-on only, so I always have a backpacking backpack on my back, and my camera backpack on my front, which is what I use as a day pack on the trail! I had my Shimoda X30 camera backpack that fit everything nicely.

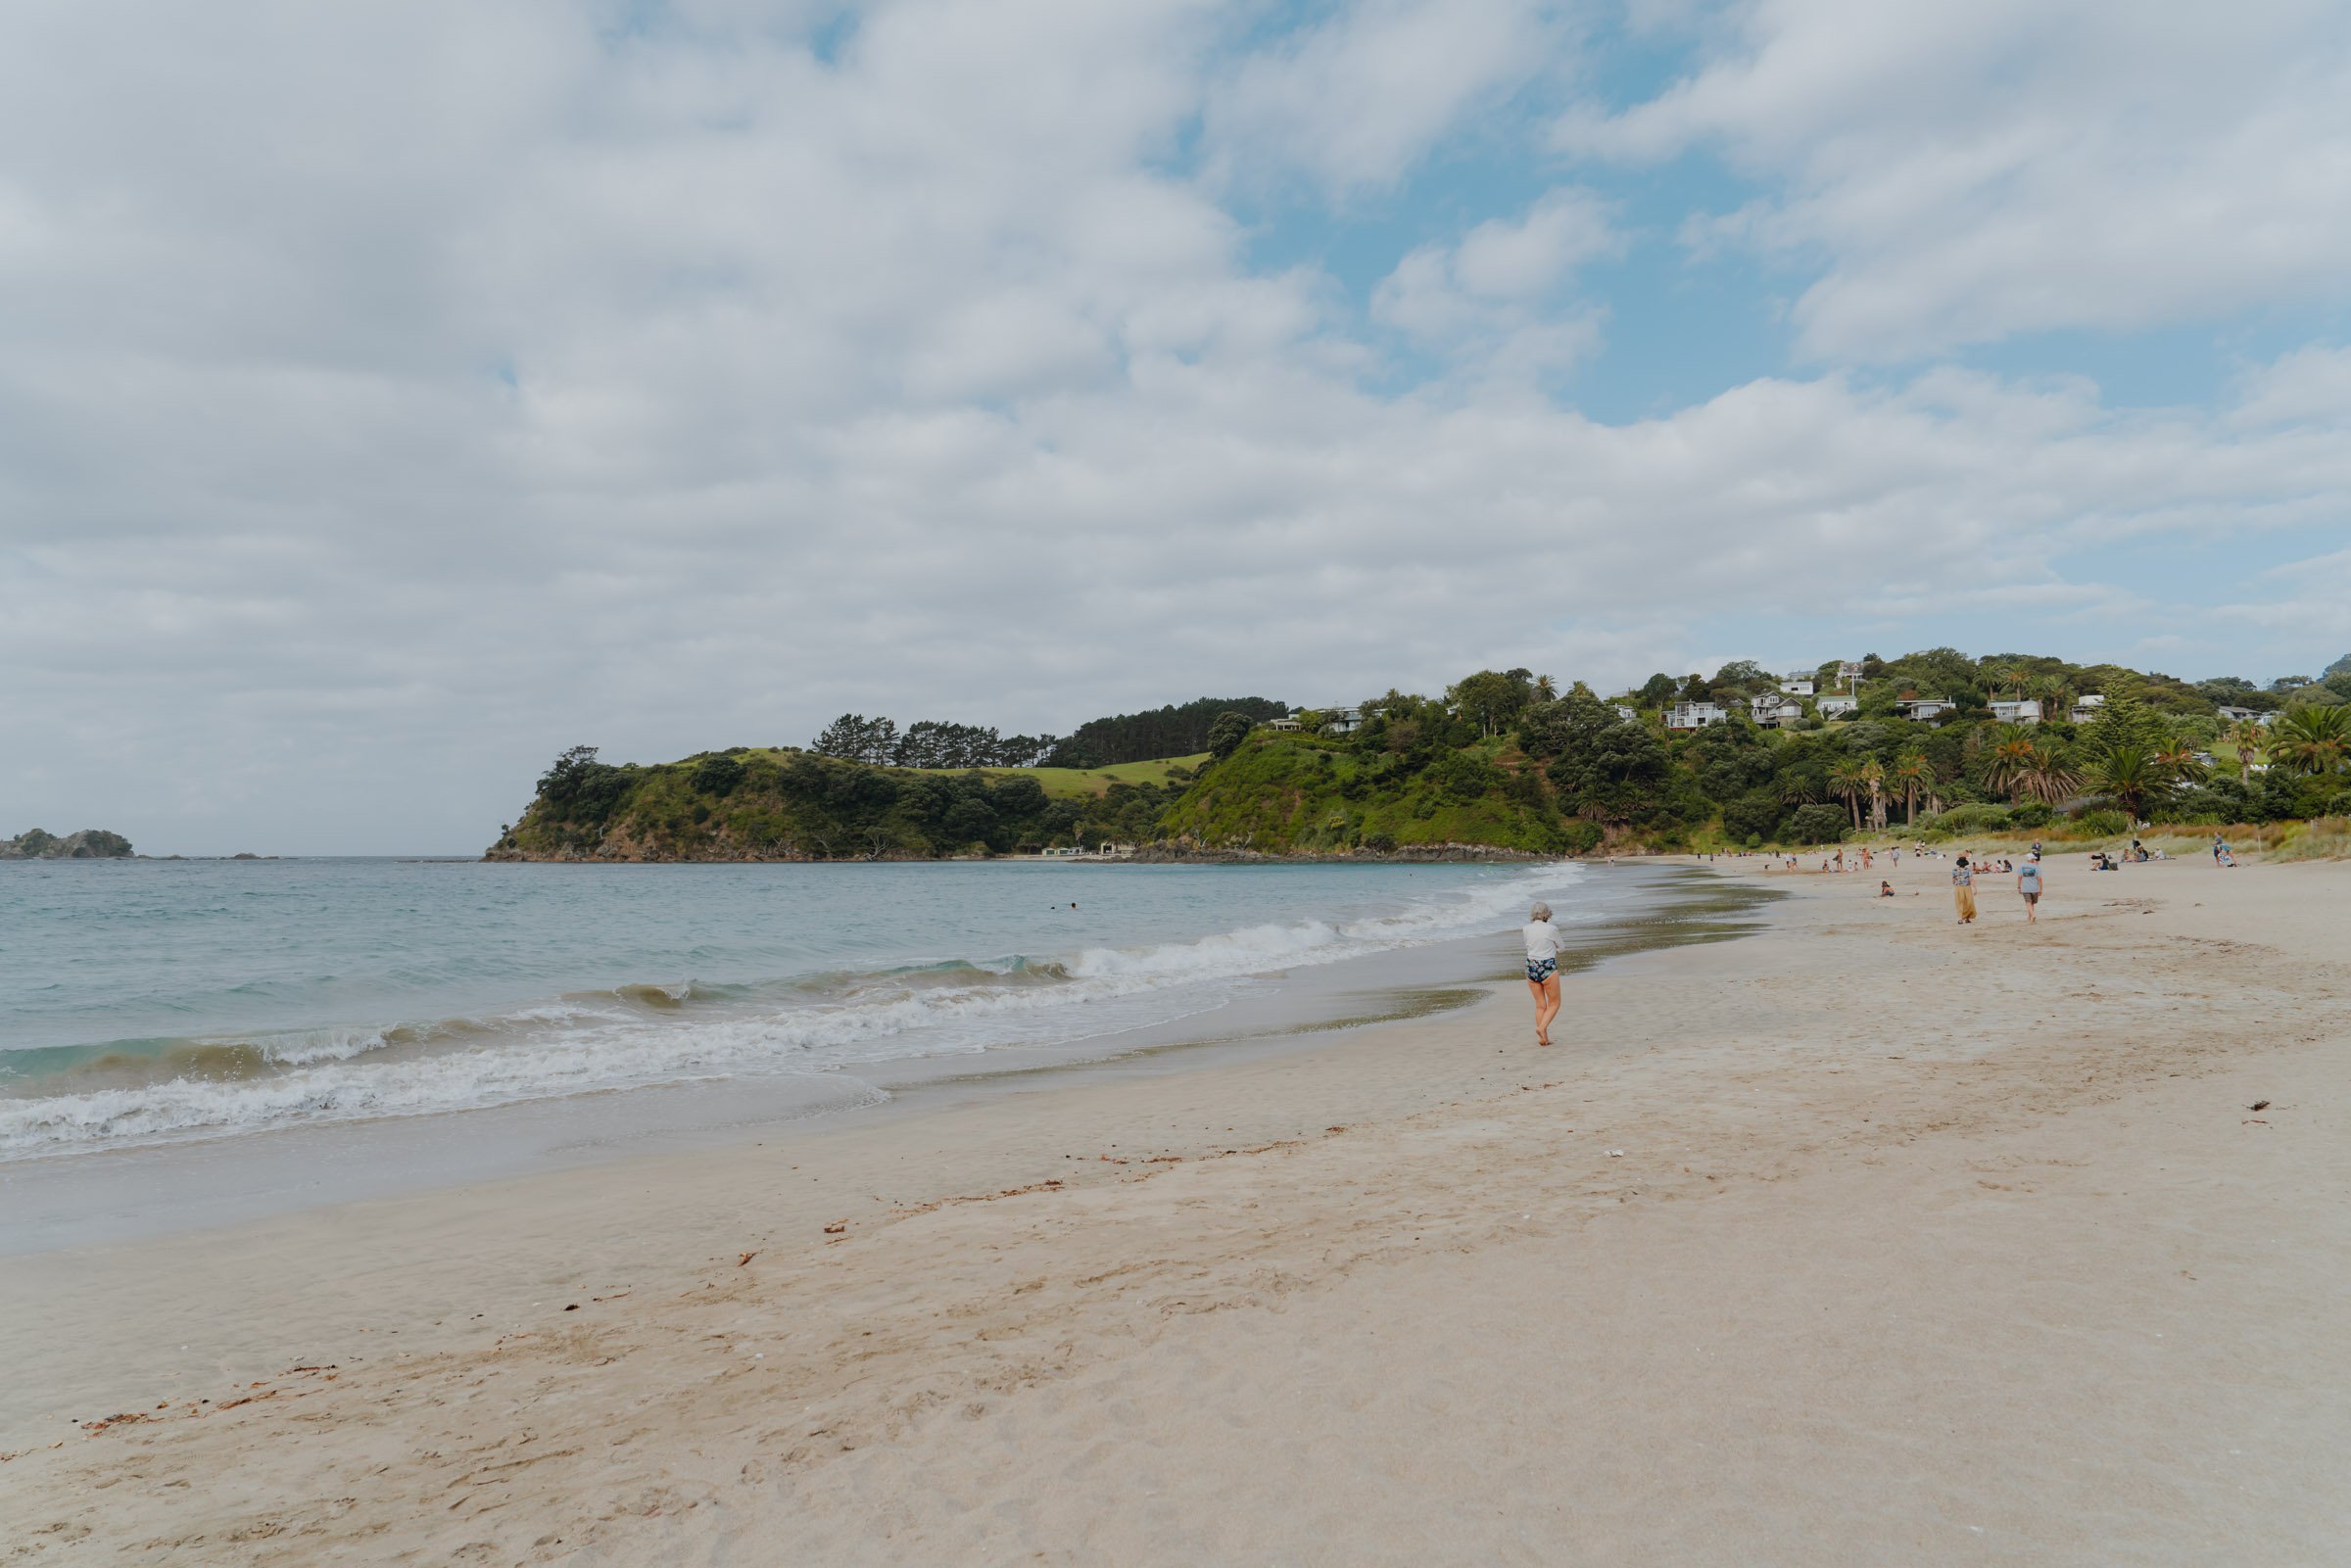
Waiheke Island
Day 1-2: Waiheke Island
Fly into Auckland in the morning and soothe your jet lag with a slow start on the beautiful island of Waiheke. It’s just a short 40-minute ferry ride from downtown Auckland and is packed with cute shops, cafes, restaurants, and quality wineries. Book a wine tour, relax at one of the island’s beaches, and re-energize for the epic New Zealand adventure that lies ahead!

Waiheke Island
The bus system here is great and affordable–just pick up an AT HOP card from Waiheke Island’s ferry terminal at the tourism desk before you leave!
Pro tip: Say thank you to your kind bus driver as you hop off. It’s customary!

Te Motu, Waiheke Island
My Favorite Wineries:
Te Motu: Easily my favorite vibe of any of the wineries we visited on Waiheke Island! Dine in a garden setting in the vineyards. I’d recommend reserving your spot ahead of time to ensure you get to enjoy this beaut of a place!
Stonyridge Vineyard: Cottage core vibes at its finest, Stonyridge has a vine-covered event space and outdoor seating in the vines! It’s beautiful here.
Little Palm Beach
The Best Waiheke Beaches:
Where to Stay on Waiheke Island:
Waiheke Backpackers Hostel: The views up here are INSANE! But if you take the bus, get ready for a steep walk up too many stairs. It was rough.
Fossil Bay Lodge: On Waiheke's Fossil Bay Lodge, enjoy serene nature views, cozy lodging, local cuisine, and warm hospitality. Perfect for relaxation and exploration of vineyards, beaches, and peaceful grounds.

Cathedral Cove
Day 2-4: Cathedral Cove + Donut Island
Welcome to the Coromandel Peninsula, where the sun shines brighter, the beaches are whiter, and the vibes are lighter! Imagine endless stretches of golden sands, hugged by turquoise waters that practically beg you to dive right in. Yep, that's your typical day at the Coromandel beaches – where sunscreen is your best friend and flip-flops are practically mandatory footwear.
You could spend weeks checking out every beach and cafe, but I’ve narrowed it down to 3 of my favorite Coromandel adventures:

Donut Island
Day 2: Donut Island
Drive to Whangamata and spend the afternoon checkout out Donut Island. Donut Island in Whangamata got its name for its shape. You can take a kayak, paddleboard, or SUP through a sea cave and into the center of this protected island. How cool is that, right? Then swing by the RSA for dinner–their Thai food is to die for. No joke. Go. Rent a kayak on the beach from Peddle and Paddle or book yourself a tour!

Day 3: Cathedral Cove + Hot Water BEach
Cathedral Cove. It might just be THE thing to do on the Coromandel. The trail is currently out of commission, so you’ll need to catch a water taxi down on Hahei Beach. They literally drive right up onto the sand, and leave every 30 minutes! Walk on down and get on the list early, a line will start to form since this is one of the most popular spots on the Peninsula. This is the only tour that actually drops you off on the beach (aside from kayaking tours). $80NZD return. Another tour that caught my eye is this zodiac tour that gets you up close and personal with some of the caves other bigger boats can’t!
Hot Water Beach. This is such a cool phenomenon! At low tide, you can rent a shovel from Hot Waves Cafe and dig yourself your own private little hot spring in the sand. How cool is that? You can swing by here on your way back from Cathedral Cove.
Overnight: Airbnbs or freedom camping was the way to go over here! There are plenty to choose from. We ended up spending a good amount of time in Whangamata at this Airbnb.

Waimangu
Day 4-5: Rotorua
Day 4: Geothermal Parks + Maori Cultural Experience
Spend the morning of Day 4 driving to Rotorua. Some call Rotorua a bubbling cauldron of adventure–jokes, it’s just me–on New Zealand's North Island! Get ready to experience the Earth's fiery, untamed energy with a visit to this geothermal mecca. Rotorua is also where you’ll find some of the best Maori cultural experiences in the country.

Te Pa Tu
I’d recommend spending the morning at either Waimangu Volcanic Valley (a more rugged and natural-feeling geothermal park with a steaming lake, geysers, and more), or Wai O Tapu, which is the most popular Rotorua geothermal park, and for good reason. It’s truly nature’s kaleidoscope!

Waimangu
This evening, I’d recommend reserving a Maori Cultural Experience. We decided to go with Te Pa Tu for a more traditional peek into Maori culture!
Overnight: Camp at Rotorua’s Blue Lake Top 10 Holiday Park. We loved it here!

Wai O Tapu
Day 5: Geothermal Park + Drive to Tongariro National Park
Spend the morning as you wish–I’d recommend checking out another geothermal park or the cool (and free) hot spring river, Kerosene Creek!
Then make your way to Tongariro National Park. We’re hiking the Tongariro Alpine Crossing tomorrow morning!
Overnight: Discovery Lodge

Tongariro Alpine Crossing
Day 6: Tongariro Alpine Crossing
Today, we’re hiking the epic, the majestic, some even call it Mordor, Tongariro Alpine Crossing. It’s a MUST!!! Seriously. This iconic trek in New Zealand will take you through ancient forests, lunar-like volcanic terrain, and breathtaking vistas that will leave you in awe.

Tongariro Alpine Crossing
As you traverse the rugged terrain, you'll encounter steaming vents, emerald lakes, and vistas that stretch as far as the eye can see. Get ready to channel your inner adventurer as you conquer challenging terrains and witness the raw, untamed beauty of Tongariro National Park.

Tongariro Alpine Crossing
There are a few rules and regulations that require a bit of prep (e.g. everyone needs to book a shuttle since it’s a thru-hike and parking isn’t allowed on one side of the trail). Be sure to read up on my entire Tongariro Crossing experience here before you go!

Mt. Taranaki
Day 7-8: Egmont National Park

Wilkies Pools
Day 7: Drive to Wilkies Pools
Drive to Egmont National Park and swing by Wilkies Pools for a refreshing afternoon dip–Mt. Taranaki makes a stunning backdrop!

Mt. Taranaki
Day 8: Pouakai Tarns + Drive to Auckland
Head up to the Pouakai Tarns for a sunrise you’ll never forget! Sunrise is your best chance at getting a glassy tarn, which makes the reflection of Mt. Taranaki that much more impressive! Nearly the entire trail is boardwalk, and there are no harmful creatures in New Zealand, which makes hiking in the dark MUCH easier, in my opinion.
Once you’re back down safe and sound, start your drive up to Raglan to test the waters with a little surf send!

Raglan
Day 8-9: Raglan
We’ve already come to our final days of our New Zealand North Island itinerary! I know, I can’t believe it either. But how does ending it with a little surf and beaching sound? Raglan is tiny, cute, and full of travelers from all over the world hoping to paddle out to surf Raglan’s legendary, long and consistent breaks. It’s also known for its relaxed vibe. But this town offers more than just epic surf breaks; visitors can explore the vibrant arts scene, enjoy delicious eats at cozy cafes, and hike through stunning landscapes with lush greenery.
With its welcoming locals and breathtaking sunsets over the Tasman Sea, Raglan is the ultimate destination for those looking to unwind and embrace the laid-back Kiwi lifestyle. Don’t miss open mic night at The Yard.

Raglan
WHERE TO SURF:
Whale Bay

35mm Film. Bridal Veil Falls.
HIKES NEAR RAGLAN:
If you have time, check out Bridal Veil Falls: This 180-foot waterfall is a short drive from Raglan, but well worth the effort. Lace up your hiking boots and set off on the 0.9-mile trail. A short walk through lush forest and fern trees leads you to the top of the falls. Take it in and then decide if you’d like to descend the 180’ to the base. I think it’s worth it!
WHERE TO CATCH SUNSET:
Te Toto Gorge Lookout offers a breathtaking panoramic view of rugged cliffs, lush native bush, and the wild Tasman Sea. It’s the perfect spot to catch sunset, and a stunning drive to get there too!
Overnight: We loved this hostel. You get to stay in old train cars, and the view was absolutely insane!
Leave No Trace
Always remember to leave no trace–pack out what you pack in, leave what you find, prepare for every adventure, and respect the outdoors and each other every step of the way. Learn more about how to leave no trace here.
And if you do decide to venture out, drop a comment below or shoot me an email to tell me how it went!
Happy adventuring!

